Did you Live, Laugh, Love in 2008?
Did you have a weekly commitment to Instagram your letterboard in 2020?
Do you now, or at any time, have a sign inside your house?
If you answered yes to any of those questions, you may love to play with words!
Word art as a design choice has a bad reputation, but it’s not the word art, itself, that is cheezy–it’s the WORDS! Putting a phrase that everyone has on their walls right that minute on your own wall, as well, isn’t a recipe for longevity. Vinyl transfers on plastic drink cups and pottery painted with sans-serif words (cough, cough, Rae Dunn cough) are also bound to be fleeting moments in popular decor.
But that doesn’t mean that you have to abandon word art entirely, nor do you have to avoid the trends if they truly speak to you. Just avoid wasteful consumption, particularly petroleum by-products, and otherwise do whatever you want to your own living space. If it’s Living, Laughing, Loving that you truly want to do, choose upcycled or natural materials and eco-friendly techniques.
If you have a phrase in mind that’s speaking your name right now, here are some fun, eco-friendly, DIY and NON-CHEEZY ways to get that word art out there into the universe:
Word Art from Shaped or Cut Materials

- bent wire word art. Take this word art in so many directions, depending on the look you’re going for. Shape the letters completely by hand for a more rustic look, or use pliers for a more polished look. Use copper wire to upscale the look, or cover the wire in yarn to make it look more homey.
- clay. When looking at tutorials, keep in mind how easily you could swap an eco-friendly material for the material used in the project. In the case of these stamped clay words, sub homemade salt dough or store-bought air dry terracotta clay for the polymer clay called for in the tutorial.
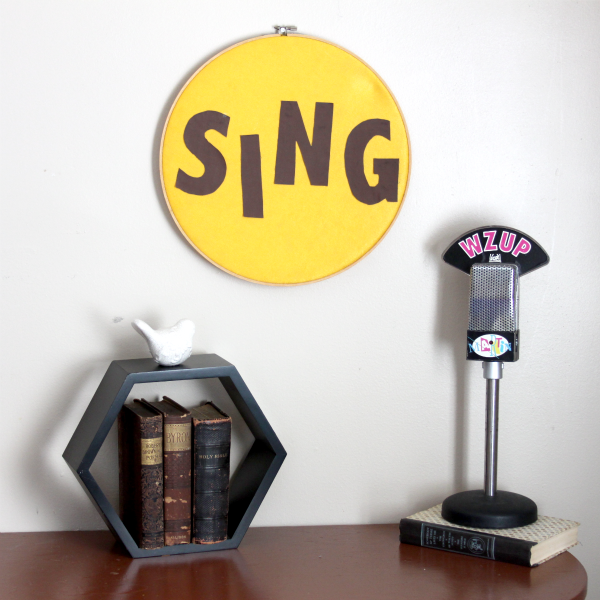
- felt letters. If you’ve still got your old letterboard, here’s how to upcycle some of those letters into a more permanent display.

- yarn-wrapped cardboard letters. Kids will love creating their own playroom decor from eco-friendly corrugated cardboard and yarn. Use stash yarn, or buy cotton yarn instead of acrylic.
- string art. String art is surprisingly easy, making it a good choice especially for the beginning crafter. This project looks great when done large-scale.
- reverse string art. Here’s a way to make string art look all-new–use negative space to shape your words!
Word Art from Pieced or Mosaic Materials

- button word art. For a shorter word and/or a framed piece, create your word from buttons! Glue or sew buttons to most surfaces, and consider using a limited color scheme, like the “Fall” art above, to match your theme.
- vintage silverware. Silverware is a dime a dozen (literally!) at your nearby thrift store. Take advantage of it!

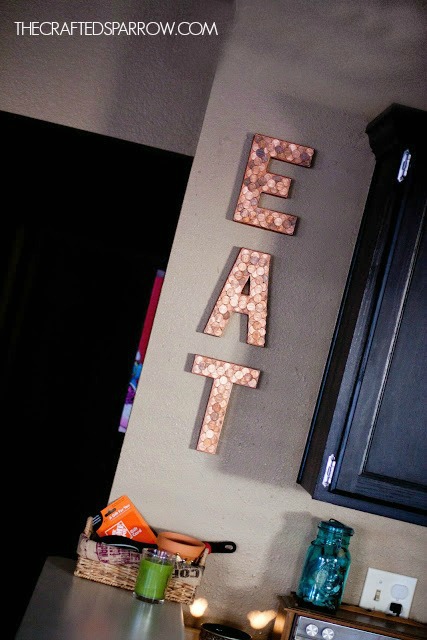
- penny word art. Here’s what you do with all of those pennies you’ve got kicking around in your change jar. I mean, pennies are barely legal tender anymore, and they’re so pretty when polished!
- junk. I love the use of found and thrifted items here. Artificially weathering them is totally fair game!

- corks. Cork is a natural material, and when pulled from a wine bottle and reused, it gives you upcycled credit, too!
Word Art That’s Painted, Printed or Sewn

- fabric and embroidery hoop. This type of word art doesn’t have to be sewn, but if you do know how to hand-stitch, now is an excellent time to show off your skillset.
- painted wood. Pallet wood makes a great choice for this project, mostly because it’s free, upcycled, and I’m in love with the weathered look. Pallet wood is of highly unknown and generally sketchy provenance, though, so seal this finished piece before displaying it.
- stenciled over a thrifted canvas. I LOVE this fun idea that upcycles something high-quality but ugly as sin–a thrifted painting! Choose the ugliest painting with the nicest frame that you can find, then stencil your word art over the top.

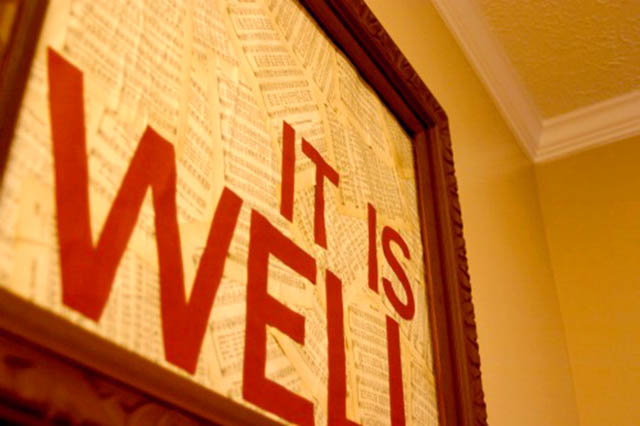
- pretty paper and paint. Here, lovely paper is the background to simple, painted word art.
- embroidered. The best part is that you don’t actually have to know how to embroider to complete this project. Just cover your handmade template and have fun with it!
- watercolored. Use masking fluid to create your word art out of negative space in the middle of lovely splashes of watercolor.

- 3D typography art. Sometimes the most impactful art is also the simplest. For this project, you need nothing but two colors of cardstock, a craft knife, and a firm backing material.
- doormat. I doubt the longevity of this project, but if you choose your doormat carefully, you could repaint it seasonally.
- word search wall art. Don’t buy foam stickers new, but do check your local “Buy Nothing” group, because kids tend to collect these by the bucket-full and they are the WORST! Otherwise, hand-cut or die-cut felt or wooden letters would also work for this project.
Let me know what phrase you’re longing to display in your home–I promise I have NO room to judge you for being cheezy!
