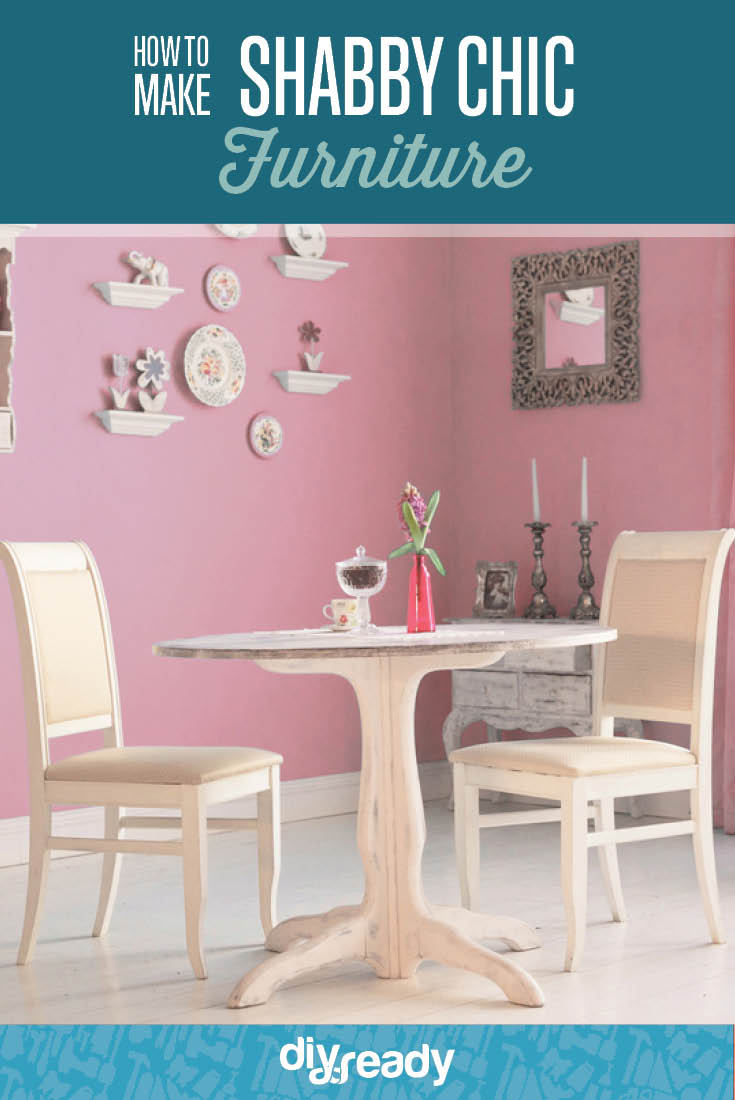
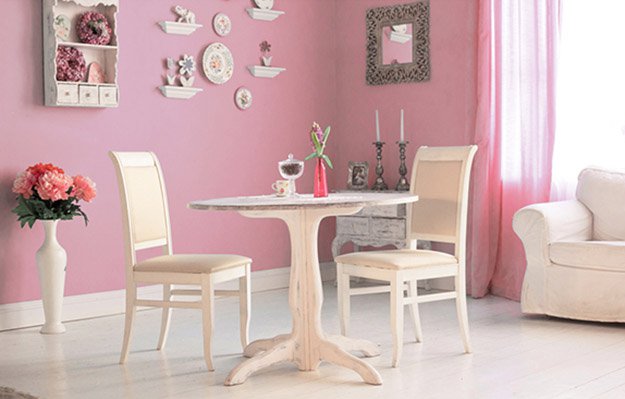
Go shabby chic! With a minimal makeover, you can give your furniture the elegance and the comfort you have been seeking. All it takes is a little effort and time to do the things right. A single piece of shabby chic, rustic-looking furniture can give a room a lovely antique look.
Read on to learn how to give your home furniture a shabby chic makeover.
How to Paint Furniture Shabby Chic
See also: 12 DIY Shabby Chic Bedding Ideas
1. Decide the Paint Colors
Before you launch your makeover, I recommend you decide on what colors you plan to paint your piece of furniture. A lighter color is suitable for a base and a darker coat is suitable for the top. Similarly, a blue tone looks perfect with a light gray undercoat. Choosing contrasting colors is ideal.
2. Prepare the Furniture
Wipe your furniture with a damp cloth and then start painting it. Make sure it is not painted or stained. If your furniture is in rough shape, you should strip it first and then paint the bare wood. But if it’s already light in color with multiple coats beneath it, you don’t need to carry out the stripping process. If you don’t need to strip, skip to the sanding step.
3. How to Strip Furniture

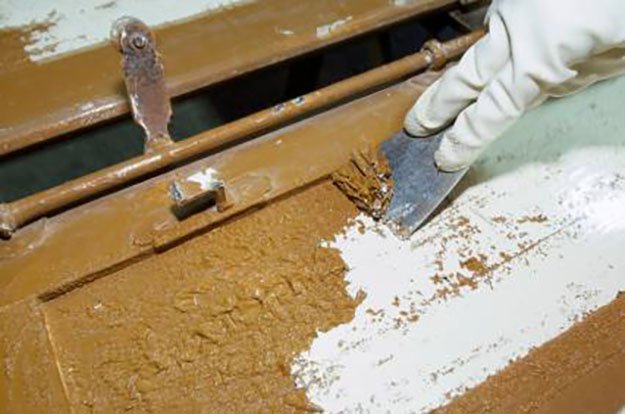
When using a stripper, set your timer according to the specifications of the manufacturer. Make sure you scrape off any bubbled-up paint. For this process, you need a well-ventilated room, rubber gloves, and the right tools and equipment. The process may take a little longer if you plan to strip off all the previous paint. You can use a scrubber brush to remove all the paint left behind and then clean everything with a good cleaner.
4. How to Sand Furniture

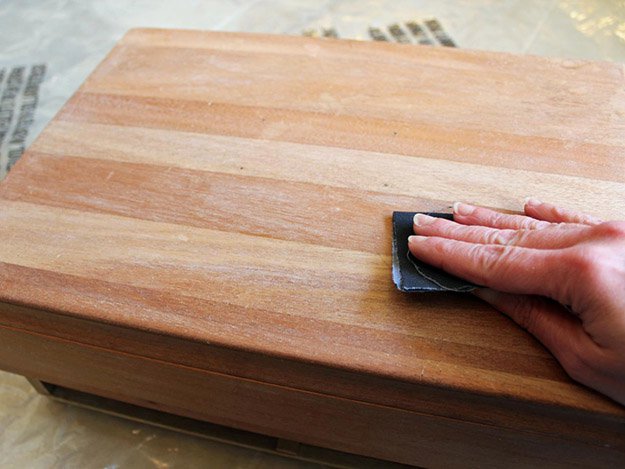
After the stripping and cleaning process is complete, the next thing you need to do is give the piece a final finishing by removing any leftover paint and finally prepare the wood to paint it. This can be done with the help of a sander; hold it over the paint to scuff it up and eliminate any loose paint before you put on a new coat of paint.
See also: 20 DIY Shabby Chic Decor Ideas
5. Paint the Base Color
The base has to be painted with a lighter tone of color than the top coat. If it already has a lighter base paint color, then adding a quick single coat of new light base is enough.
Cover all the wood with the base coat. Let it dry until it becomes transparent and then put on another coat.
6. Paint The Top Coat
After you are done with the base and it is fully dried, it’s the time to add the top coat which is darker than the bottom one. You have to be little more cautious while painting the top but still needn’t be perfect. Allow it to dry before you add another top coat. Make sure the base and the top are entirely different from each other.
7. Time to Distress!
After two to three days of applying the base coat(s) and top coat(s), you can finally give your furniture piece that aged look you desire! Take a sandpaper block or sponge with a medium grit sandpaper on it, and scuff the areas that would naturally show the wear and tear of age, including the edges, corners and molding.
8. Almost done…
If the furniture has to be put in the bathroom or kitchen, then it needs to be sealed with a clear coat. But if it is to be placed in a dryer part of your home, you can skip the clear coat. To take the shabby chic look a step further, you can add some vintage hardware pieces. Adding old silverware for handles can also add to the effect.
9. Enjoy your fabulous shabby chic furniture

Still haven’t gotten your shabby chic fix? Check out this video tutorial and see how to turn a chest of drawers into a gorgeous shabby chic furniture piece.
Dan Kogan is owner of NY handyman NYC, one of the leading handyman in New York City, with more than 20 years of experience. He is passionate about all things related to home improvement.
