I know this isn’t the typical home decor post you normally see here, but I wanted to document this special day and thought you might enjoy seeing it too. We just had the cutest teddy bear themed baby shower for my little sister, and I’m going to be an aunt in about a month from now! We’ve waited and prayed for this sweet little girl for so long, and I can’t wait to meet her and watch my sister become a momma. I was in charge of all the decorating and created some fun teddy bear centerpieces, a few activities in lieu of traditional baby shower games, and a huge photo backdrop complete with a diy balloon garland. One thing I love about this shower theme is that it could easily be used for a girl, boy, multiples, or someone waiting to find out the gender of their baby!
I thought I would share here all the items we used for the baby shower, how I made the balloon decorations and photo backdrop, and some tips for easy, affordable party planning. Be sure to pin/save this post for future reference!
TEDDY BEAR THEMED BABY SHOWER
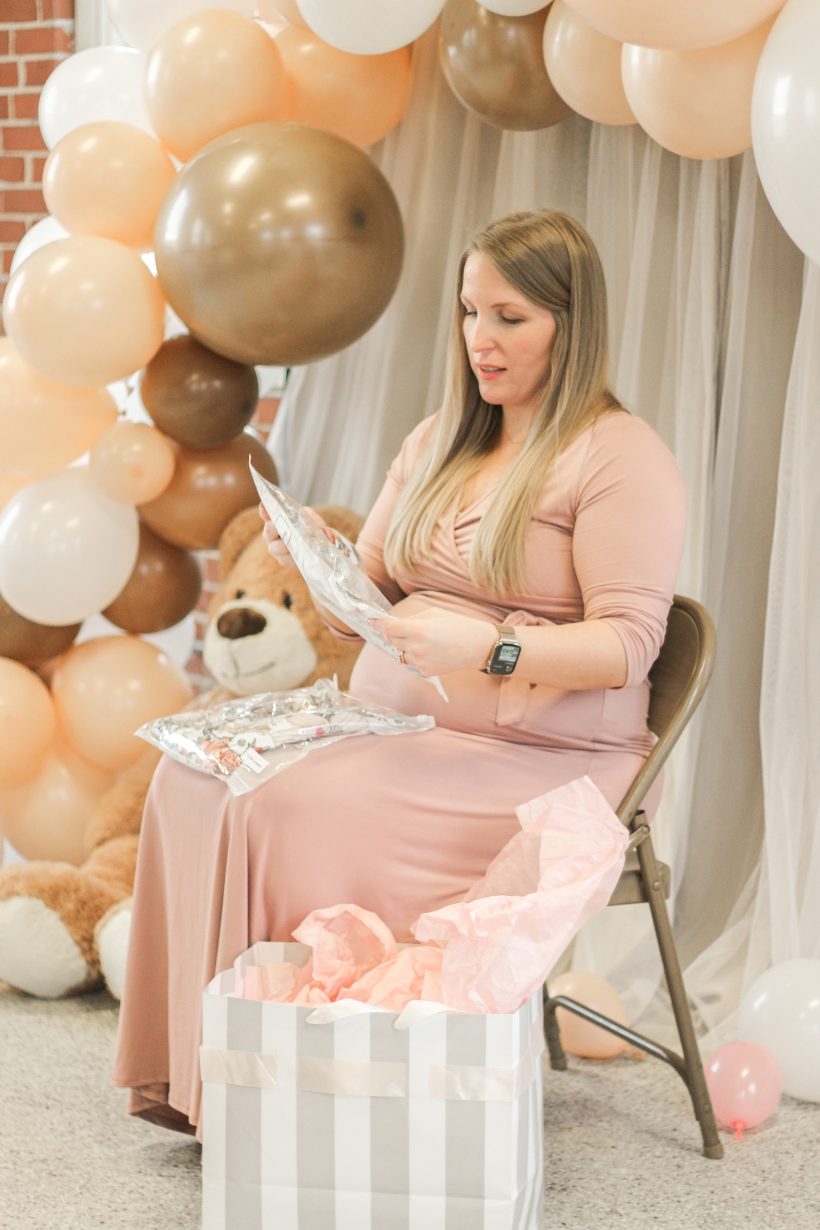
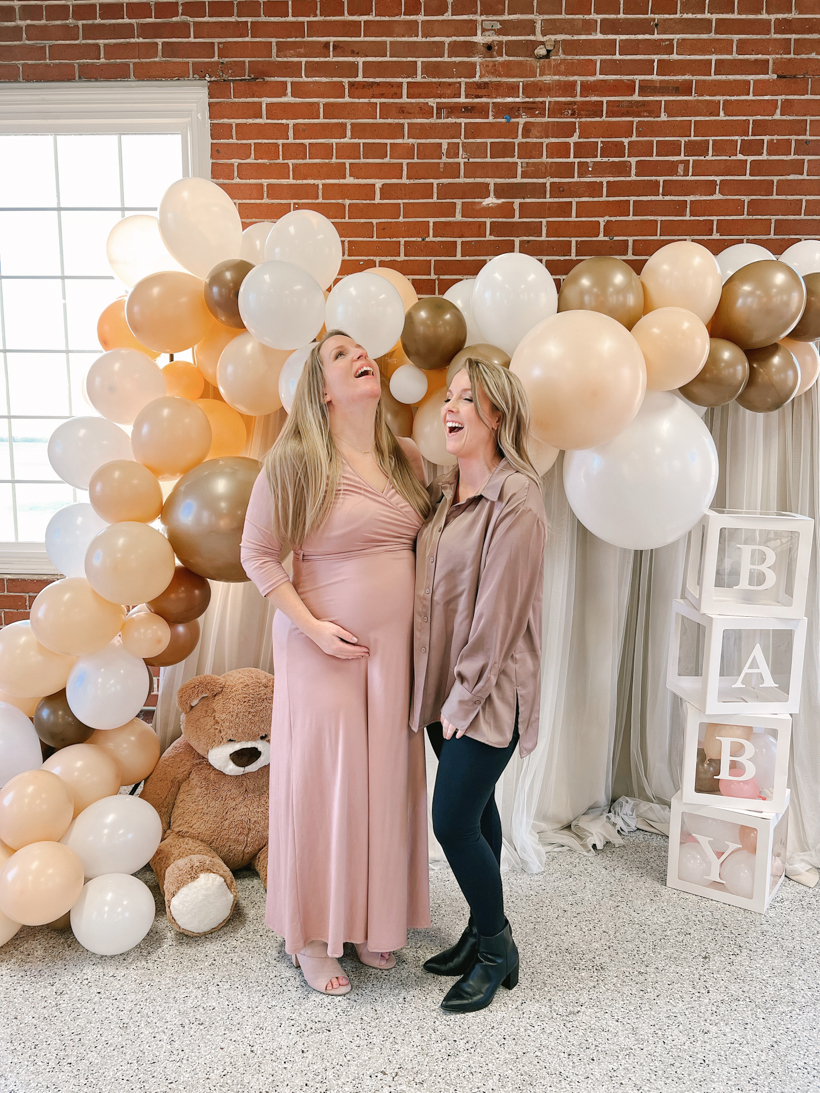
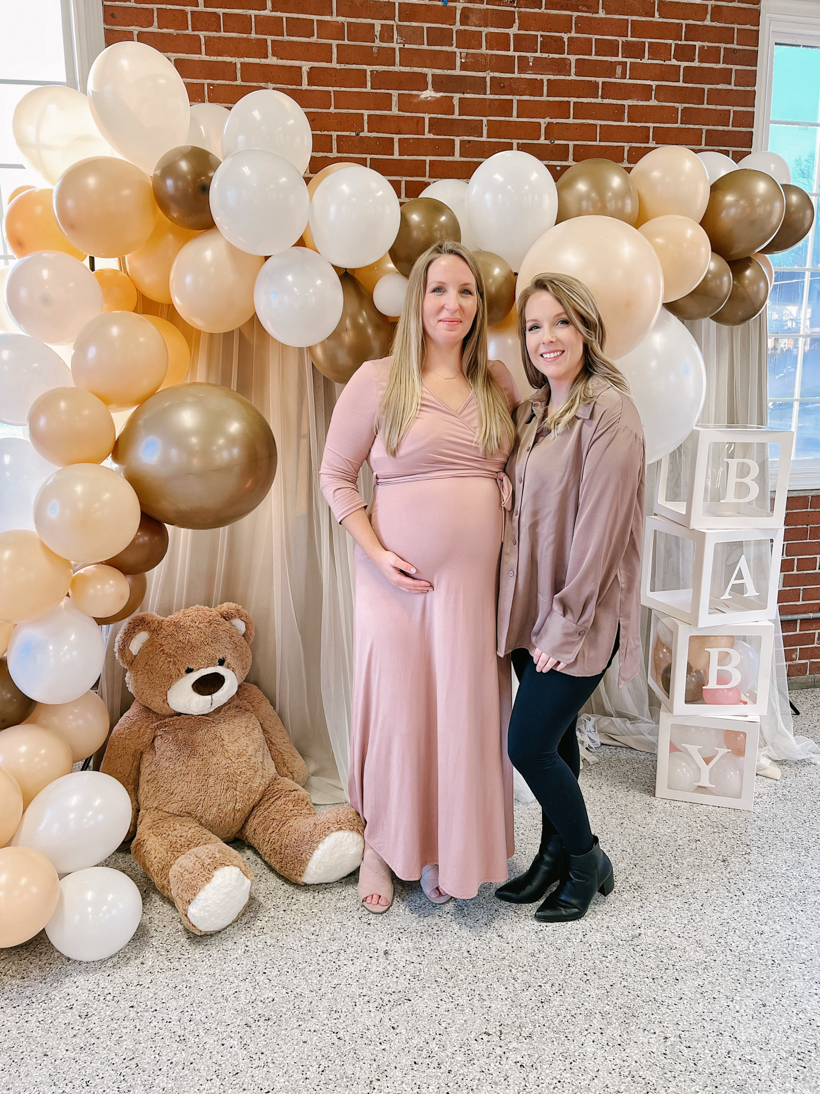 my beautiful little sister, Kristina
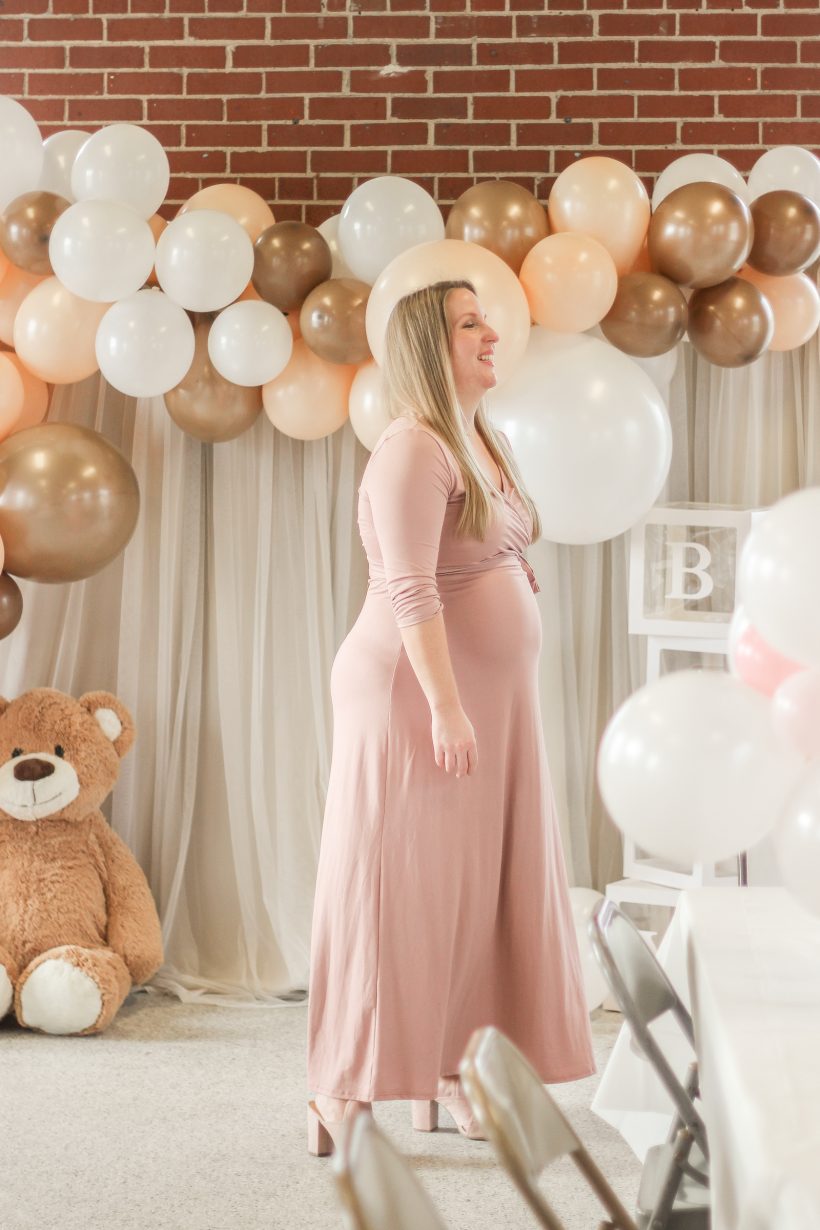
We used a very simple neutral color palette for the shower to go with the teddy bear theme: white, cream, tan, brown, and a few pops of rose gold and pink. The pink could easily be switched out to blue for a little boy.
DIY PHOTO BACKDROP
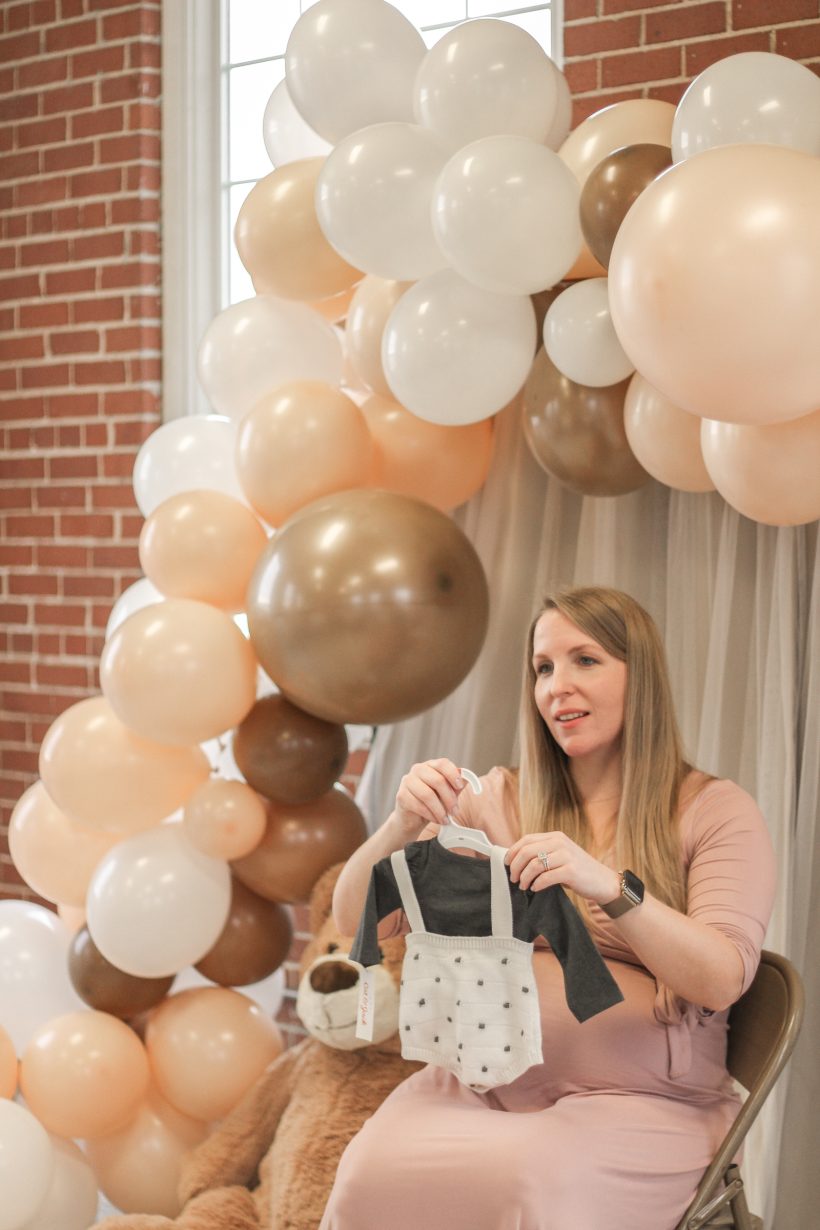
I wanted to create a focal point in the room where she could open gifts and take pictures with her guests. I found this backdrop stand online and ordered it knowing I could always sell it once the shower was over. I searched and searched for affordable, but nice looking fabric backdrops, and once I found one I liked… I realized it literally looks identical to the curtains we picked out for my mom’s living room at the Armstrong House – a solid blackout beige fabric in back with a sheer white layer on top. I was able to save a good amount of money by borrowing mom’s curtains, but you can find a similar backdrop here!
The stand came in several different sizes, but I chose the 6.5 x 10.5′ option that I thought would work best for photos and give me enough space to add the balloon garland. It comes with a convenient storage bag and is basically two tripods with several crossbars that attach on top. I was worried about the stand being sturdy enough to hold the weight of the heavy curtains and balloons all across the front, but it held up perfectly even without using the sandbags that are optional, but included. It also comes with two side clips and two large clips for the top to help hold the backdrop in place.
>> You can see a video on how I put the photo backdrop together HERE (link to IG reel) on my Instagram page. Make sure you are following me there for bonus content!
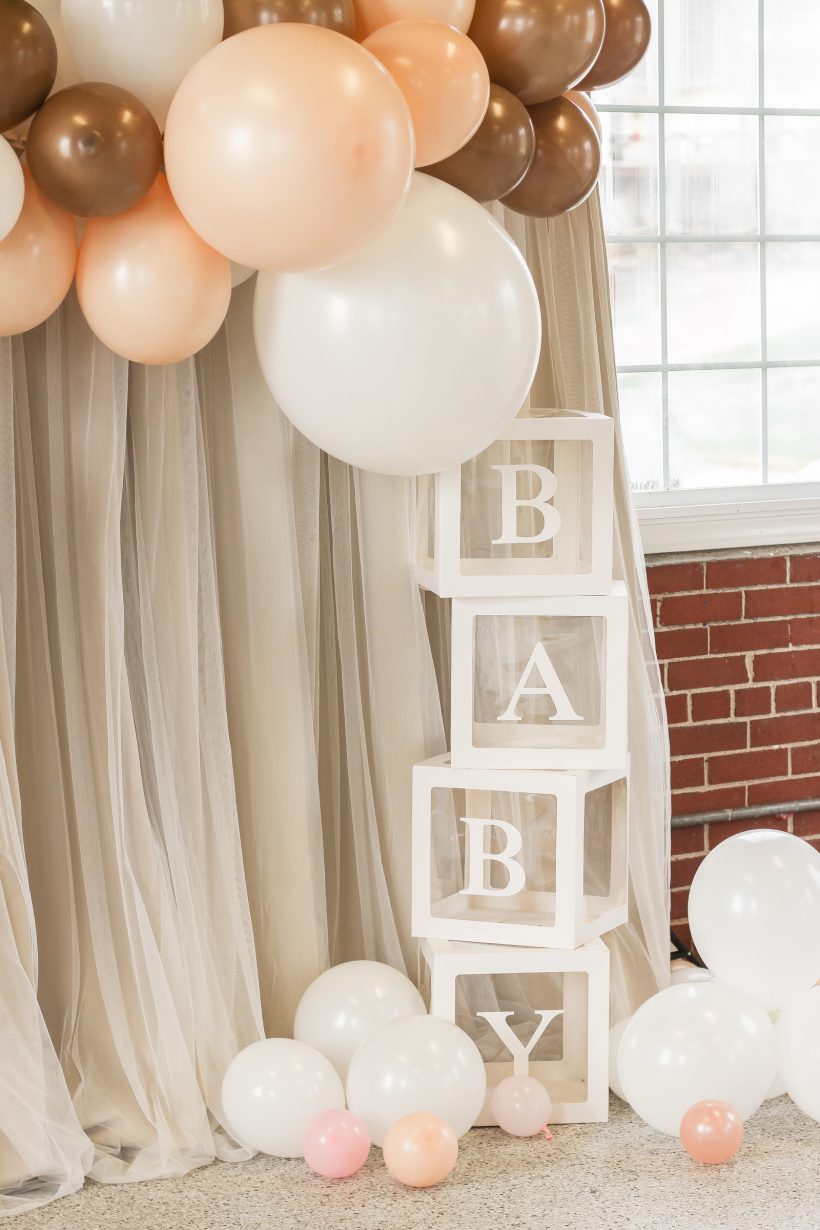
Another easy decoration I ordered was this set of transparent boxes that look like blocks to spell out the word “baby”. You can choose from several different colors (I went with white) and fill them with mini balloons if you want to match the theme of your party. They were really quick to assemble and balanced out the opposite side of the balloon garland. We folded them flat again after the shower was over and gave them to my sister to use when baby girl turns one. The set came with all the letters of the alphabet (plus an extra B for baby), so you could spell out other words like bday, one, girl, boy, love, etc.
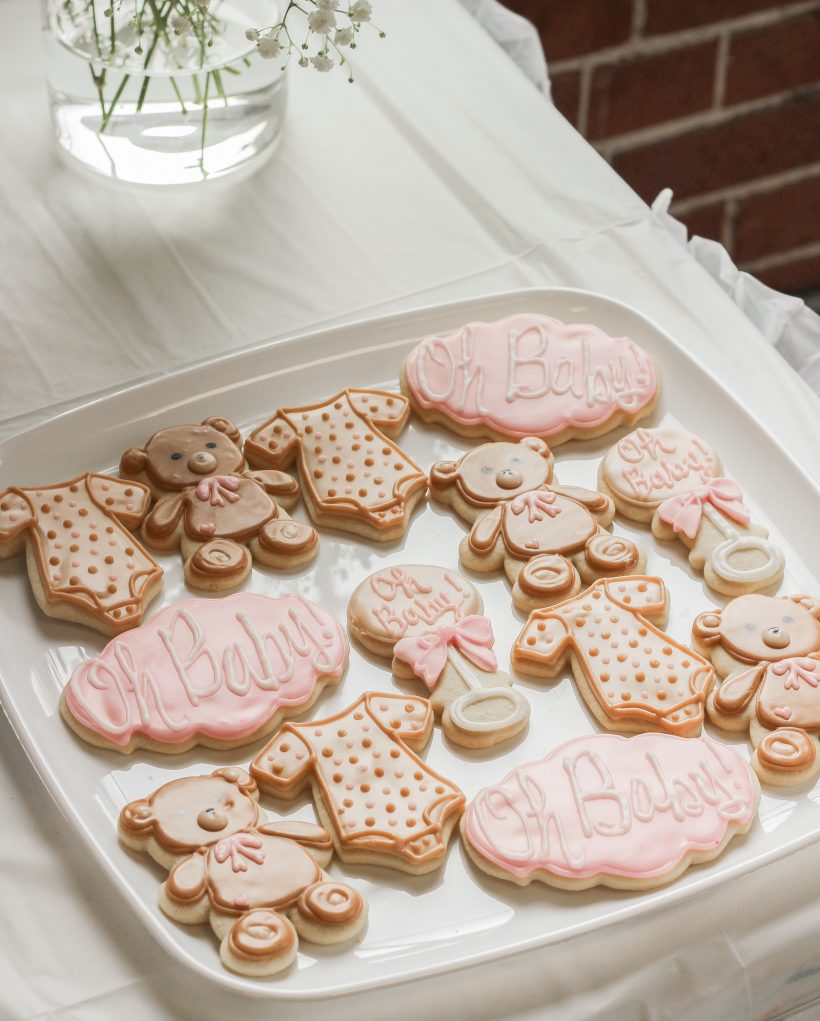
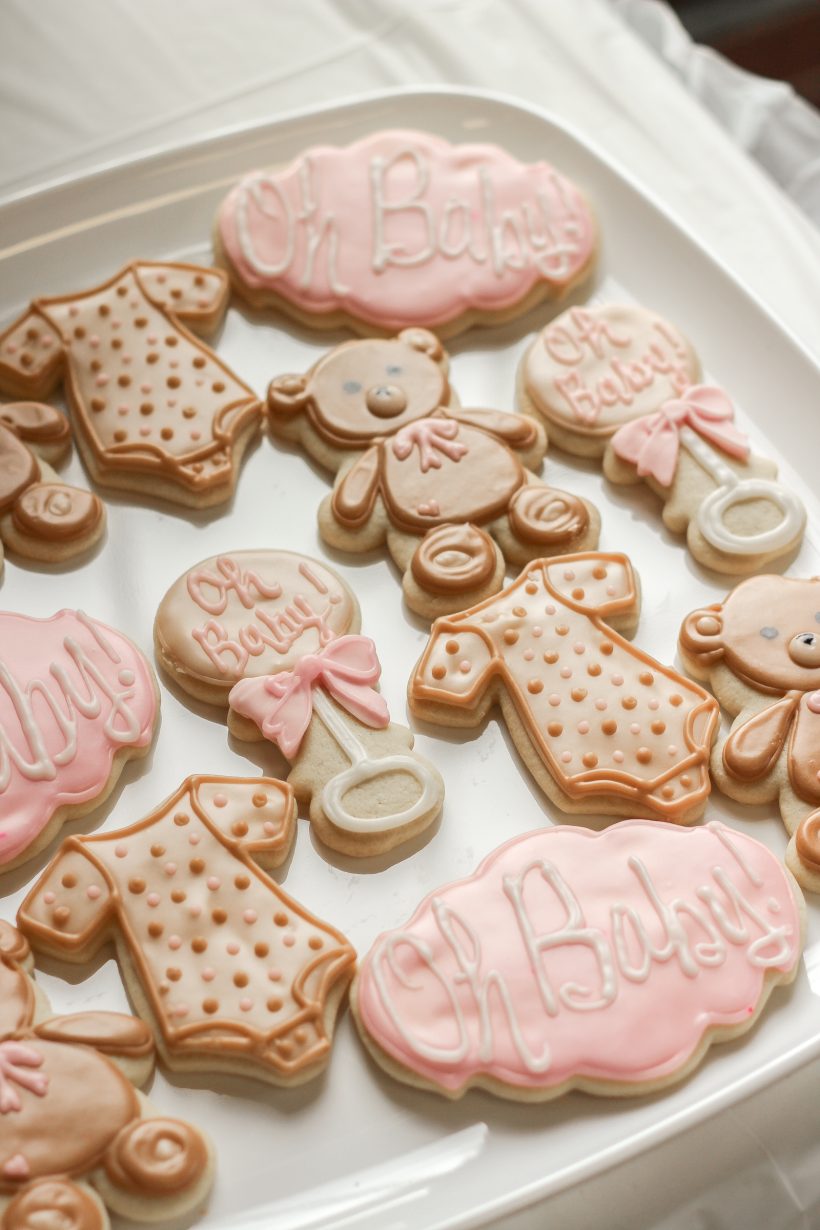
My mom was in charge of food for the shower, and she ordered the most adorable desserts from a local bakery: cookies, cupcakes, cake pops and macarons in our teddy bear theme and colors. These cookies were by far my favorite!
DIY BALLOON GARLAND
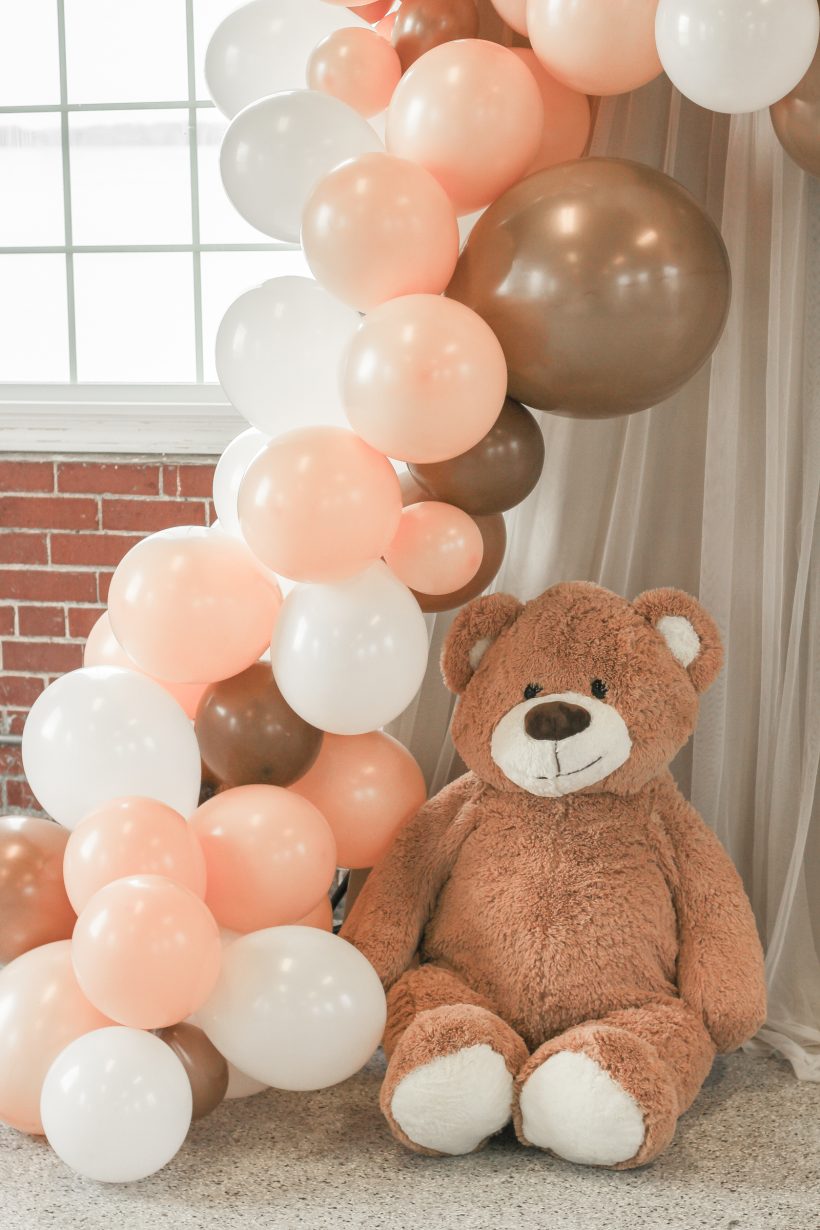
I really wanted to see if I could pull off making one of these amazing balloon garlands, so I ordered all the supplies and crossed my fingers that it would all come together on shower day. You can’t make these balloon decorations in advance because there’s a good chance they will lose air or pop during transport, and I also had to travel 4 hours to where my sister lives for the shower. Originally I had planned on having a few more hands to help (I’ll share that crazy story at the end of the post), but it ended up being just my mom and I with only an hour to spare before party time to whip this entire balloon garland together. I probably could have tinkered with it for two more hours to make it “perfect”, but with literally seconds to spare before guests arrived, we hung it up on the backdrop and called it good. It turned out so adorable and was well worth the chaos and sore fingers from balloon tying. 
HERE IS WHAT I USED FOR THE BALLOON GARLAND:
dual nozzle electric balloon pump
brown neutral balloon garland kit
balloon hand pump – 2 pack
twine or string
scissors
plastic balloon tying tool – 4 pack (optional)
*the balloon garland kit I bought came with a balloon holder strip and glue dots, but if you purchase your own balloons separately, you will need to buy those as well.
INSTRUCTIONS: Use the electric balloon pump to fill your balloons with air and tie a knot to secure. Push the knot of a balloon through a hole in the balloon strip, working your way from one end of the strip to the other and alternating balloon colors as you go. Once your strip is filled, attach it to the backdrop stand or to removable hooks on the wall using twine.
TIPS:
- This particular kit came with 5″ balloons, 10″ balloons, and a few large 18″ balloons. I recommend using mostly the 10″ balloons on the strip and adding the larger 18″ balloons spaced throughout the garland. Use the 5″ balloons in tight spots where you can’t fit a 10″ balloon, and use the glue dots to attach the rest of the small balloons to the garland to fill in bare spots and holes once you are all finished with the bigger balloons.
- Balloon colors: the kit I bought came with white, nude, and brown balloons, plus some double layer balloons. The double layer balloons have either a black balloon inside a nude balloon or a nude balloon inside a white balloon. When blown up together, they add some color variation in different shades of tan/brown, so do not be confused when you open up your package to see black balloons you weren’t expecting. However, the balloon pump would not blow up these double layer balloons. We ended up not using the black ones and just blowing everything up as single layer balloons because we were too short on time to troubleshoot the issue, and it turned out fine. We just had three colors on the garland instead of the five shades we should have.
- The hand pump is great for blowing up the small balloons. The electric pump can blow them up too quickly and pop the 5″ balloons if you’re not careful, but the hand pump gives you a little more control.
- Probably the worst part of this entire project is tying all the balloons. I bought little plastic tying tools to make it easier, but spent too long trying to watch the video on how to use it and just needed to get these balloons done as quickly as possible. We tied them all by hand, and our fingers were raw.
- My best advice for creating one of these balloon garlands is to have several sets of hands to help and give yourself plenty of time. If we had the shower at someone’s house instead of an event space, it would have been ideal to at least start this process the night before, but we couldn’t get into the building until 10:00 that day. It truly isn’t difficult to do, just tedious! But it really does create a wow factor for your party decor.
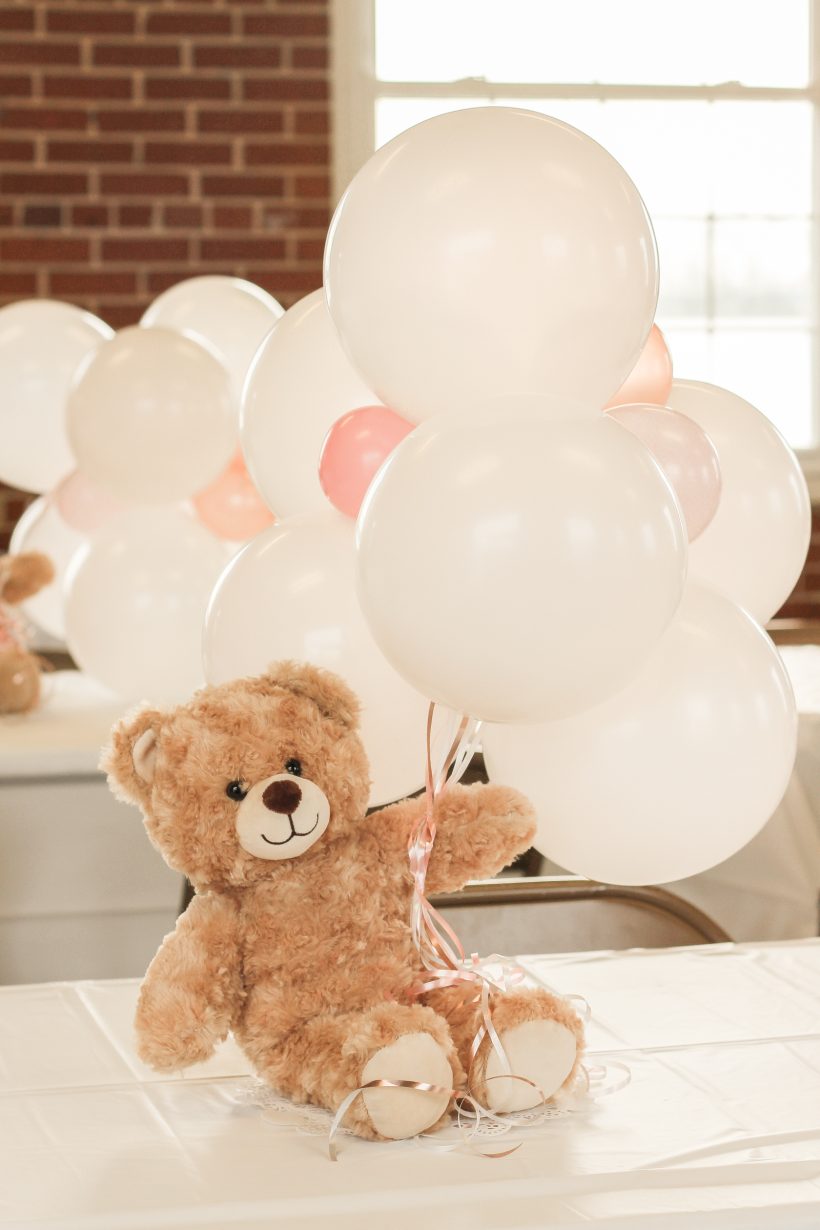
TEDDY BEAR BALLOON CENTERPIECES
Upon researching ideas for our teddy bear theme, I kept seeing these adorable teddy bears “holding” a bouquet of balloons. I had already bought supplies for the balloon garland, so I figured I would see what I could come up with. We had several teddy bears at home that we could use, so this was all I needed:
stuffed bear, around 15″ tall
5″ balloons
10″ balloons
balloon stick with cup, 20″ tall
cardboard cake board, 8″
round white paper doily, 10-12″
curling ribbon
clear mini rubber bands
clear tape
glue dots
electric balloon pump
balloon hand pump
hot glue gun
scissors
INSTRUCTIONS: Attach the cup and balloon stick to the center of the cake board using plenty of hot glue. Poke a small hole in the center of the doily and slide it down the balloon stick to cover the cup and cake board. Cut 6 pieces of curling ribbon about 30″ long and attach the ends to a piece of clear tape. Wrap the tape around the top of the balloon stick.
Place the teddy bear sitting on the cake board and doily, and secure his leg, shoulder and hand to the balloon stick using a clear mini rubber band. You want it to look like he is holding the balloon strings, and the rubber bands will help keep him in place on the arrangement.
Fill six 10″ balloons with air and secure with a knot. Create pairs by tying two balloon tails/knots together. Take two of the pairs, find the knots in the center, and wrap the balloons around each other, basically tangling the pairs together. Then take the last pair, find the center again, and wrap the balloons are each other until the balloon bouquet is tied together and secure. Place the balloons on top of the balloon stick and secure it with glue dots to hold it in place. Fill six 5″ balloons with air and secure with a knot. Create pairs again by tying two balloon tails/knots together. Take your pairs, stretch them across the center of the balloon bouquet to opposite sides, filling in any bare spots, and wrap them around the larger balloons to secure in place. You could also just individually place the 5″ balloons in any bare spots and secure them with glue dots.
Once your balloon bouquet is finished, use scissors to give the ribbon a little bit of curl.
TIPS:
- Depending on the weight and sizes of the items you use, how big you fill your balloons, etc. you may have to adjust the number of balloons your stick will hold. I blew my 10″ balloons up a little too big and had to reduce the amount I used so they would stay upright on the stick. If I could go back and change one thing, it would be making those balloons smaller.
- I used a plain brown teddy bear, white 10″ balloons, various shades of pink 5″ balloons, and pink/rose gold/white curling ribbon for my centerpieces. You could easily customize this with your own colors though!
FOOD & DRINKS
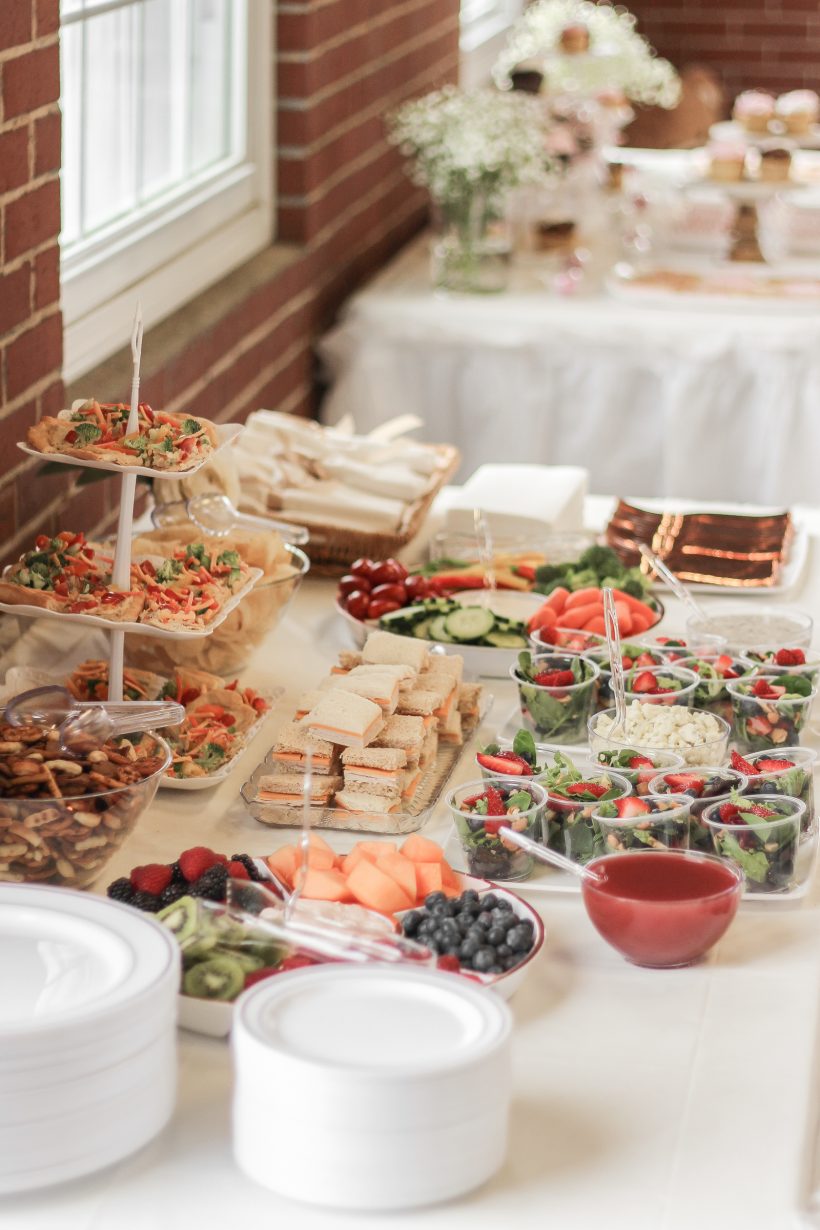
The shower was in the afternoon between meal times, so we had a small spread of food with finger sandwiches, individual salad cups, veggie/fruit trays, vegetable pizza, chips, and chex mix. We also had another table with beverage dispensers full of lemonade and water and a dessert table with all the bakery treats.
Party food doesn’t have to be overly fancy or complicated, and I find that the presentation is what makes it feel special. My mom used a variety of clear and white plastic serving trays mixed with some of my own pieces I brought from home like my marble & wood cake stands. She wrapped plastic silverware in a napkin tied with ribbon and set them out in a pretty woven basket. We bought disposable tablecloths for all the tables and table skirts for the display tables: food, drinks, desserts, gifts, and decor/games.
HERE ARE A FEW OF THE ITEMS WE PURCHASED:
12 pack white plastic tablecloths
6 pack white ruffled plastic table skirts
3 pack 3 tier white plastic serving trays
6 section round plastic serving tray white/rose gold
ACTIVITIES
The momma-to-be requested some non-traditional baby shower activities instead of games, so I set up a few things guests could participate in at their leisure.
- I set out a basket of diapers with permanent markers so guests could write a little note on a diaper to make the new parents smile during diaper changes. Some left a sweet message of advice, and others left something funny to give them a laugh. It turned out to be a cute activity, and mom and dad got extra diapers to go home with.
- To play off the teddy bear theme, I filled a jar with gummy bears (you can find specific color ones at Party City) and asked everyone to guess how many gummy bears were in the jar. This was an easy way to give out a few prizes at the shower.
- I also set out a basket of envelopes and pens and asked each guest to write their name and address on an envelope for thank you cards. A lot of times now people utilize Facebook events or online invitations in lieu of a physical invitation in the mail, so this makes it easy on the guest of honor to send out thank you notes once the shower is over.
Now for the crazy, somewhat funny story behind this baby shower weekend…
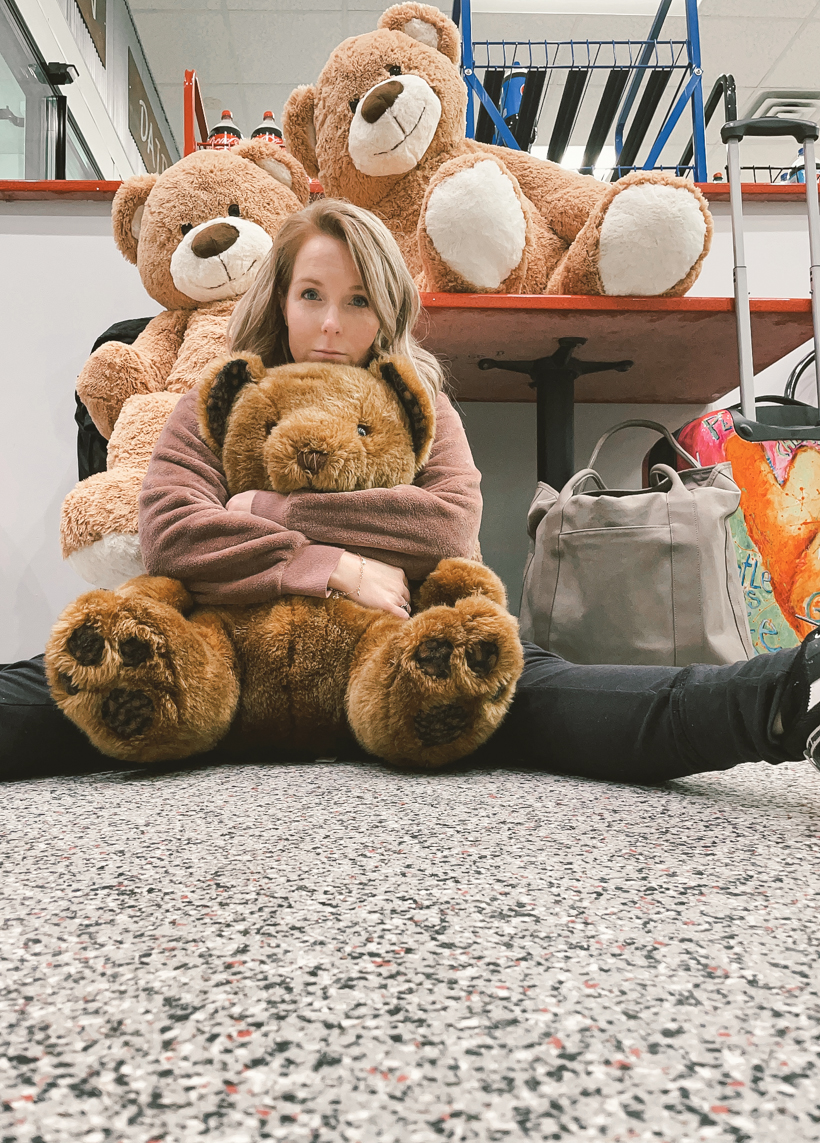
I spent days prepping and packing decor for the shower and carefully loading everything in my car from front to back, bottom to top. I had two giant teddy bears, boxes and boxes of decor, bags of balloons, smaller teddy bears, a suitcase, and more I’m sure I’m forgetting. On the four hour drive down South, it started raining and hovering just above freezing, and I slowed down seeing several people slide off the road already. I came to an icy bridge, fishtailed and spun around, slamming into the guardrail with a far drop down just on the other side.
I was okay… not hurt, but now sitting on the shoulder facing the opposite direction and pinned up against the guardrail unable to open my door. My back wheel was visibly broken and not able to be driven, so I found myself halfway between home and my sister’s with a car full of baby things and no vehicle to drive. The tow truck driver and state trooper took me to the nearest gas station where we unloaded the entire car including the giant teddy bears in the freezing rain. I spent two hours in the gas station with all my stuff waiting for a ride. I knew it would be funny one day, but all I could do in the moment was cry. I was on a mission to throw an amazing baby shower for my little sister and nothing, not even a car accident was going to stop me.
Originally I had planned on having my assistant, Makaila, drive down to the shower as well to help me decorate, but obviously after the accident I told her to stay home and stay safe. And another friend of my sister’s who had volunteered to help ended up sick and unable to come, so I was really up against the clock to get everything done in time.
But it turned out beautiful, and now we are just a few weeks away from my little niece being born. I can’t wait to meet her! Thank you so much for stopping by to see her baby shower. If you have any questions, let me know in the comments!
SHOP THE POST
As always, I sincerely appreciate you shopping through the links I share, which allows me to make a small commission from your purchase while your purchase price stays the same. When you use my affiliate links, I’m better able to create content for this blog as well as support my family, and I thank you from the bottom of my heart for supporting what I do!
The post Teddy Bear Baby Shower appeared first on Love Grows Wild.
